There's a bit of a story behind my card
today.
I was recently watching a fellow crafter,
Ann Melvin on YouTube and the title of her video was "I am SO TIRED of
it!!” Intrigued by the title, I watched with interest.
To summarise, she was bemoaning the
cost of trying to copy the cards
top celebrity crafters show us. The list of products "needed" to
make such projects (she recounted) can reach £60-£70. She
discussed the resulting dissatisfaction which comes when we try to reproduce
these 'ideals'. The chasing of perfection is demoralising she
suggested. She was in a real tizz with her crafty life and I felt sorry for her. I've been there too.
Whilst I sympathised with a lot of what she had to
say; I did not agree with everything.
Ann didn't refer to any of the YouTube designers by name but I've a pretty good idea to whom she is referring. I think that we have to remember that these top designers are 'the professionals'. It's their job
to promote and show us the new products of the companies they work for.
We have to remember that a lot of these products are thus given to them free of charge. Of
course, wouldn't we all love to receive lovely crafting products for
nothing? Regular 'Happy Mail' parcels are so exciting. I know from experience. I've served on numerous Design Teams in the past. But, there's also the flip side to consider. Think about
the enormous pressure there must be on them. There’s a constant
demand to keep coming up with interesting designs, techniques and designs for us. They're on a crafting treadmill! I know that I'm always grateful for their tips and inspiration. I am fully aware
that my efforts will not always match theirs. There is a wise old saying “comparison
is the thief of joy".
How though are we to improve and progress our crafting if we don't
strive for this perfection? The key is not to allow our best to be not
good enough. Crafting is my passion; it's like the air that I breathe. I'm not always happy with what I produce and I know what I make is not always perfect.
I'm my own harshest critic at times but I have learned to be
patient. I know that practice makes perfect. And, it's the doing that's the important bit not the result.
I lost my paid employment just before the
pandemic struck. I haven't worked for the past two years and money is
tight. It forces me to be careful about what I buy and I've been in a sort of creative wilderness for the
longest time.
I have recently been watching videos from
these 'celebrity designers', looking for devine inspiration. They have kickstarted my creative spark again.
I'm so, so thankful for that. Yes
indeed, but with the understanding that I am creating just for the joy of it
and not as a professional.
 |
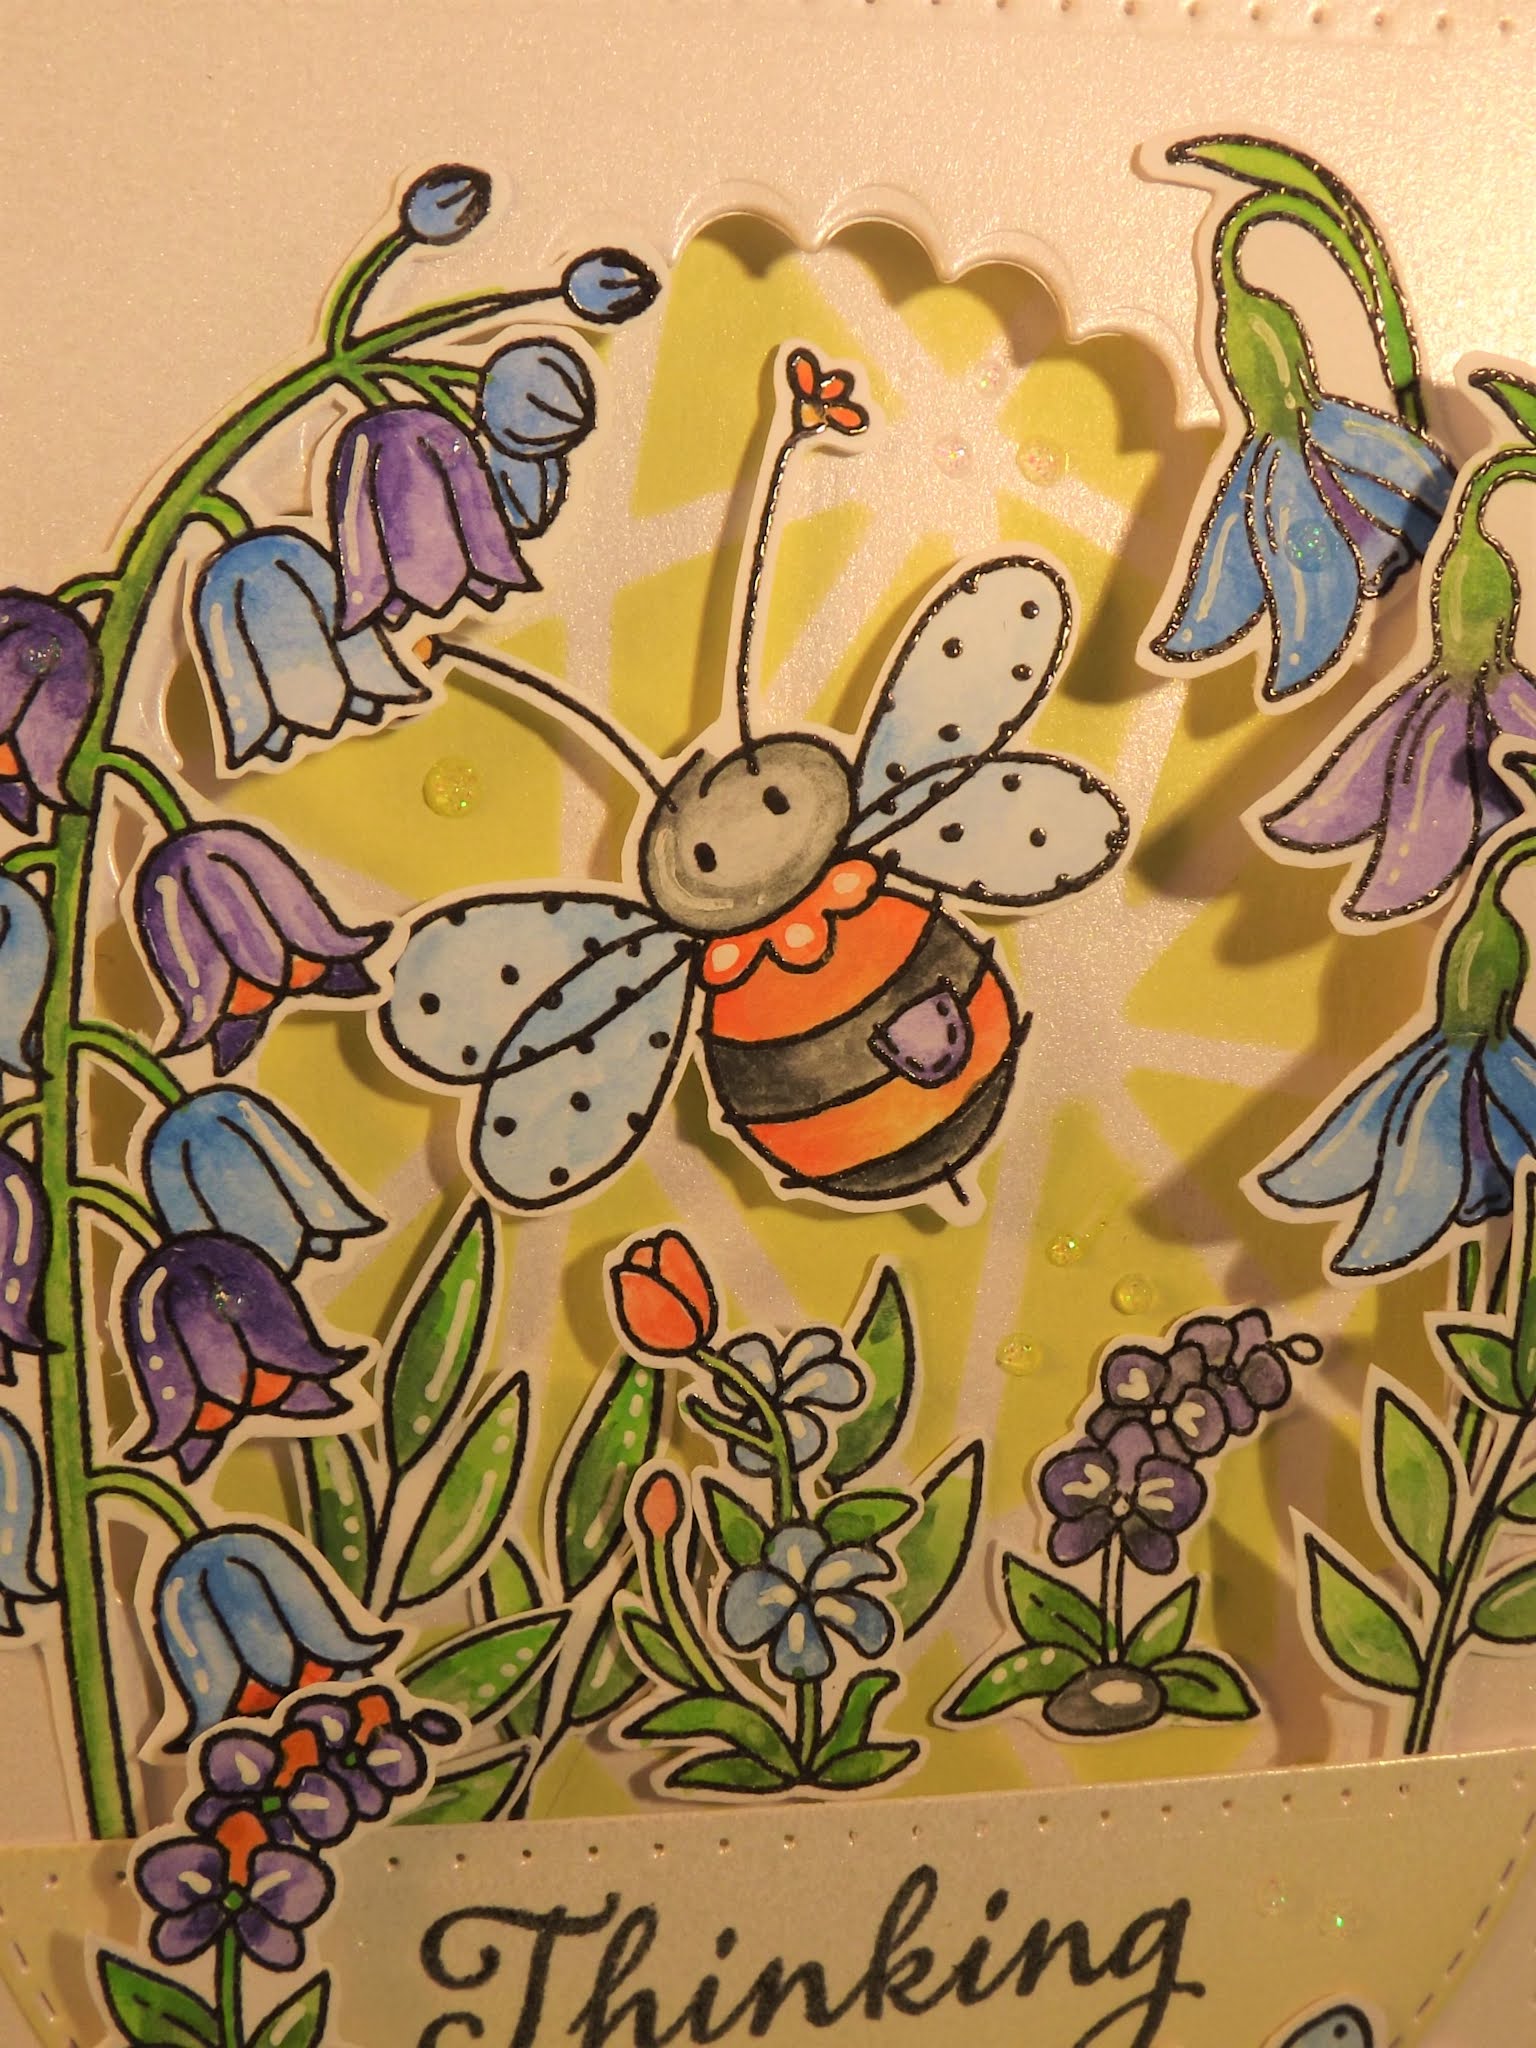
| Inspiration card from the Internet - wish I could credit the originator but I didn't make any notes at the time. Thank you whoever you are. |
I printed out the image of this card a
while ago because I thought it was fun. I thought it would spur me on to create again. Unfortunately I can't remember where I first
saw it. I would love to be able to credit the original designer. I have looked for it again but without success. Yesterday I
thought I would CASe it (Copy and Share). I challenged myself to reproduce
it using only stamps, dies and materials I already had.

And guess what . . . it was a lot of fun!
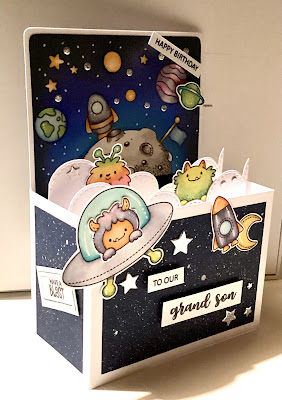
I don't think it turned out too bad either. The 'bugs' are
from a Stampendous set I bought in 2008. At
the time I remember I ‘needed’ them. I
inked them for the first time (oh, the embarrassment!) for this card. The same can be said for about 80 percent of my large stamp collection. Yet it seems I'm all too willing to buy more, crazy isn't it?
The message of this post is really in defense of these celebrity designers. Yes, they keep on showing us lots of tempting stuff, it's sort of in their job descriptions. Some of us can afford to buy it and that's just great. However some of us can't and that's okay too because if you look in your stash, I'm guessing there are products there which can produce something at least similar looking. To be fair to them a lot of them are aware enough to suggest alternatives which would give similar outcomes. The designers aren't responsible for our dissatisfaction, we do that to ourselves and we need to stop.
Happy crafting everyone and thanks for visiting.
Please leave me a comment with your thoughts or feelings on this.
Bye for now
Julie Ann xx